Hey there! As a bottle cap supplier, I've always been into finding cool, new ways to repurpose these little guys. Today, I'm gonna show you how to turn a simple bottle cap into a super handy soap dish. It's a fun DIY project that not only gives a second life to bottle caps but also adds a unique touch to your bathroom.
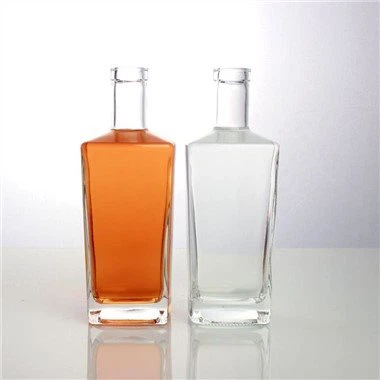
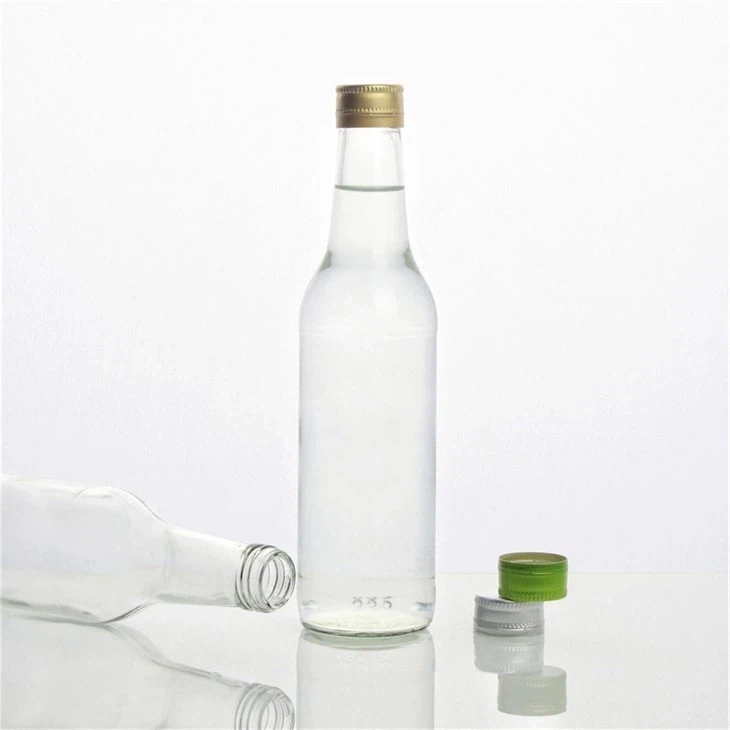
First off, let's talk about the types of bottle caps you can use. We've got a wide range of them at our supply. For instance, the GPI 400/28 Aluminum Screw Cap is a great option. It's made of aluminum, which is durable and resistant to rust. The screw - on design gives it a nice, tight fit on bottles, but it can also serve as a sturdy base for our soap dish. Another one is the 30*60mm Wine Aluminum Screw Cap. Its size is just right for holding a small bar of soap, and the wine - themed look can add a bit of elegance to your bathroom decor. And of course, the Wine Aluminum Screw Cap in general is a versatile choice.
Now, let's gather the materials. Besides the bottle cap, you'll need some sandpaper, a drill with a small - sized bit, some waterproof paint or sealant, and a piece of mesh or a small sponge.
The first step is to clean the bottle cap thoroughly. You don't want any dirt or residue on it. Just use some warm, soapy water and give it a good scrub. Then, dry it completely. This might seem like a no - brainer, but it's important to make sure the cap is clean before we start working on it.
Once the cap is dry, it's time to sand it. Use the sandpaper to rough up the surface of the bottle cap. This helps the paint or sealant stick better. You don't have to go overboard; just a light sanding all around the cap will do the trick.
Next up, we're going to drill some holes in the bottle cap. These holes are crucial as they allow water to drain out from the soap, preventing it from getting soggy. Using the drill with a small bit, make several holes in the bottom of the cap. Try to space them out evenly. If you're not confident with using a drill, you can also use a nail and a hammer to punch holes, but it might take a bit more effort.
After drilling the holes, it's time to add some color or protection to the bottle cap. You can choose a waterproof paint in a color that matches your bathroom. Apply a couple of thin coats, letting each coat dry completely before applying the next one. If you don't want to paint it, you can use a clear waterproof sealant. This will protect the cap from rust and make it last longer.
Now, for the finishing touches. Cut a piece of mesh or a small sponge to fit inside the bottle cap. This will provide a soft surface for the soap to sit on and also help with water drainage. Place the mesh or sponge inside the cap, and your soap dish is almost ready.
You can get creative with your soap dish. You could attach a small magnet to the back of the cap and stick it to the side of your sink for easy access. Or, you could use a hot glue gun to attach a small chain and hang it on a hook.
This DIY bottle - cap soap dish is not only practical but also eco - friendly. By repurposing bottle caps, we're reducing waste and giving these little items a new lease on life. And if you're someone who loves unique home decor, this is a great way to add a personal touch to your bathroom.
If you're interested in getting some bottle caps for your own DIY projects or for other purposes, we're here to help. We offer a wide variety of high - quality bottle caps at competitive prices. Whether you need them for your business or just for some fun crafting, we've got you covered.
Contact us to start a purchase negotiation. We're always happy to chat about your needs and find the best solutions for you.


References
General knowledge on DIY projects and bottle cap materials.