As a dedicated bottle cap supplier, I've always been fascinated by the endless possibilities these little items hold. Beyond their primary function of sealing bottles, bottle caps can be transformed into unique and useful items. One such creative endeavor is making a bottle cap pen holder. In this blog, I'll guide you through the process of creating your very own bottle cap pen holder, and along the way, I'll also introduce some of the high - quality bottle caps we offer at our company.
Materials You'll Need
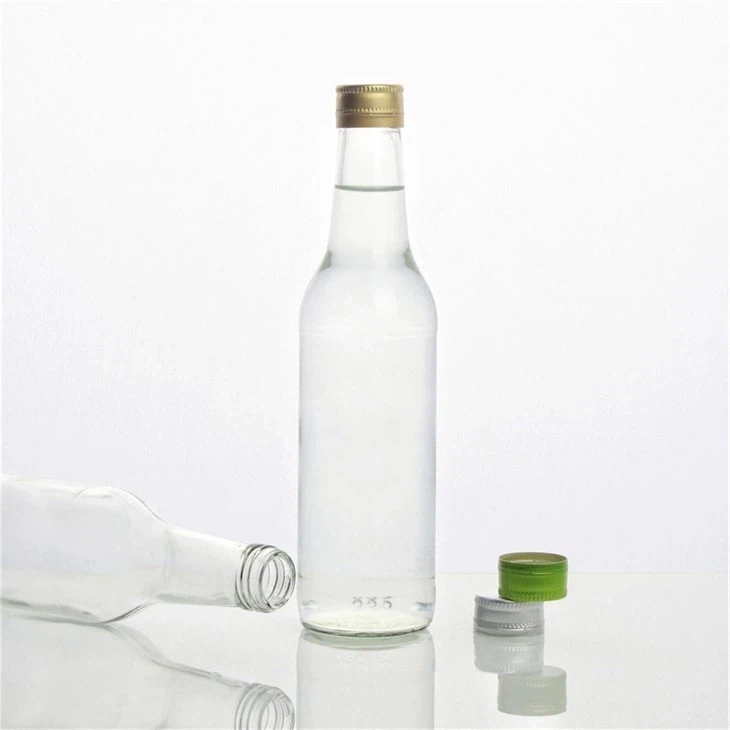
Before we start the creative process, let's gather the necessary materials. First and foremost, you'll need a sufficient number of bottle caps. As a bottle cap supplier, I can assure you that we have a wide variety of bottle caps to choose from. For example, our Wine Aluminum Screw Cap is not only sturdy but also has an elegant appearance, which can add a touch of sophistication to your pen holder.

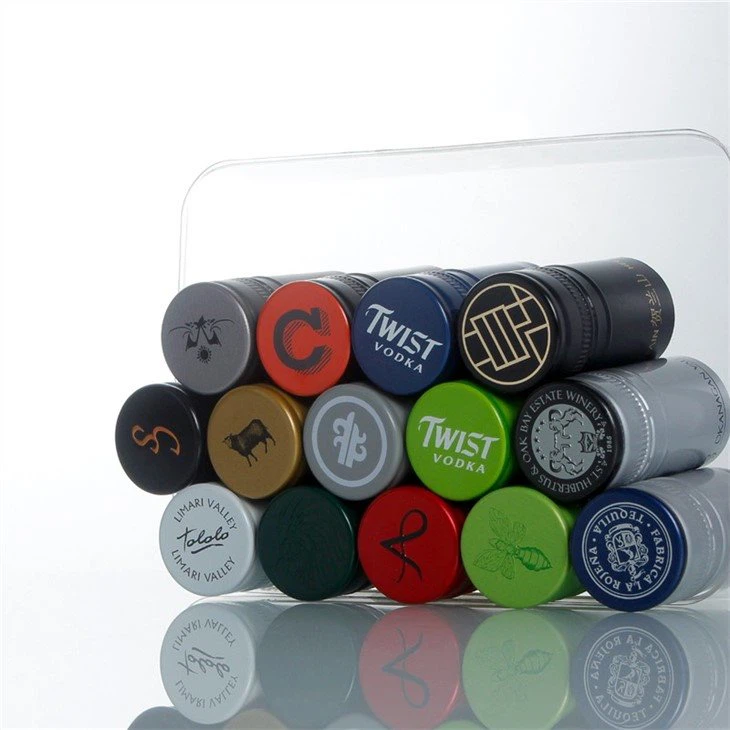
Apart from the bottle caps, you'll need a strong adhesive. A good quality glue gun or epoxy glue works well for this project. You'll also need a base for your pen holder. This could be a small wooden board, a piece of thick cardboard, or even a circular plastic tray. Additionally, some decorative items like paint, stickers, or beads can be used to personalize your pen holder.
Step 1: Prepare the Base
The first step in making a bottle cap pen holder is to prepare the base. If you're using a wooden board, sand it lightly to smooth out any rough edges. For a cardboard base, make sure it's thick enough to support the weight of the bottle caps and the pens. If you choose a plastic tray, clean it thoroughly to remove any dirt or debris.
Step 2: Arrange the Bottle Caps
Once the base is ready, it's time to start arranging the bottle caps. There are several ways to do this. You can arrange them in a circular pattern, a square pattern, or even a more creative design. For a classic circular pen holder, start by placing the bottle caps in a circle around the center of the base. Make sure the caps are evenly spaced.
If you want to use different types of bottle caps, you can create a pattern with them. For instance, you can alternate between 30*60mm Wine Aluminum Screw Cap and regular - sized caps to add visual interest. You can also use bottle caps of different colors to create a rainbow - like effect.
Step 3: Attach the Bottle Caps to the Base
After arranging the bottle caps, it's time to attach them to the base. If you're using a glue gun, heat it up and apply a small amount of glue to the bottom of each bottle cap. Then, carefully place the cap on the base in the pre - arranged position. Hold it in place for a few seconds until the glue sets.
If you're using epoxy glue, follow the instructions on the package. Mix the two components of the epoxy glue thoroughly and apply a thin layer to the bottom of the bottle cap. Press the cap firmly onto the base and let it dry according to the recommended drying time.
Step 4: Build Up the Layers (Optional)
For a taller pen holder, you can build up additional layers of bottle caps. Once the first layer is securely attached to the base, start adding a second layer on top of the first one. Make sure the caps in the second layer are placed in between the caps of the first layer for a more stable structure. You can continue adding layers until you reach the desired height of your pen holder.
Step 5: Decorate Your Pen Holder
Now that the basic structure of your pen holder is complete, it's time to add some personal touches. You can paint the bottle caps with acrylic paint. Choose colors that match your room's decor or go for a bright and bold color scheme for a more eye - catching look.
Stickers are another great way to decorate your pen holder. You can use cute animal stickers, motivational quotes, or even geometric patterns. Beads can also be glued onto the bottle caps to add some sparkle. If you're feeling really creative, you can use a small amount of glitter glue to make the pen holder shine.
Step 6: Let It Dry and Set
After decorating, let the pen holder dry completely. This may take a few hours, depending on the type of glue and paint you used. Make sure it's placed in a well - ventilated area to allow for proper drying.
Why Choose Our Bottle Caps?
As a bottle cap supplier, we take pride in offering high - quality bottle caps. Our GPI 400/28 Aluminum Screw Cap is made from premium aluminum, which is not only durable but also resistant to corrosion. This ensures that your pen holder will last for a long time.
We also offer a wide range of sizes and styles to meet your different needs. Whether you're looking for a small cap for a delicate pen holder or a larger cap for a more substantial one, we have you covered. Our caps are also available in various colors, allowing you to create a pen holder that truly reflects your personality.
Contact Us for Your Bottle Cap Needs
If you're interested in purchasing bottle caps for your next creative project or for commercial use, we'd love to hear from you. Our team of experts is ready to assist you in finding the perfect bottle caps for your requirements. We offer competitive prices, fast shipping, and excellent customer service.
Whether you're a DIY enthusiast, a small business owner, or a large - scale manufacturer, we can provide you with the right bottle caps. Contact us today to start a conversation about your bottle cap needs. Let's work together to bring your ideas to life!
References
- Craft magazines: Various craft magazines provide inspiration and tips for DIY projects using bottle caps.
- Online DIY communities: Websites and forums dedicated to DIY projects often have discussions and tutorials on making bottle cap pen holders.