Hey there! I'm a supplier of bottle caps, and I've seen these little guys go through a lot. From sealing up delicious beverages to being part of some pretty cool DIY projects, bottle caps are super versatile. Today, I'm gonna share with you how you can turn a bottle cap into a doorstop. It's a fun and practical way to give those old caps a new lease on life.
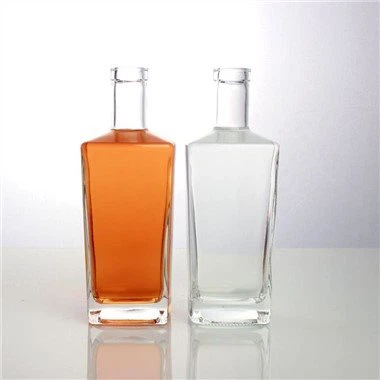
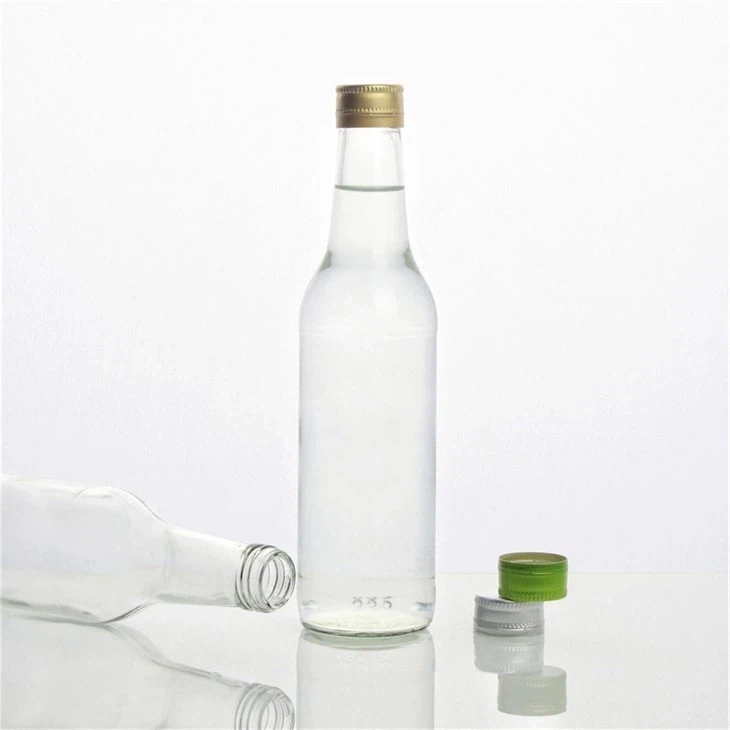
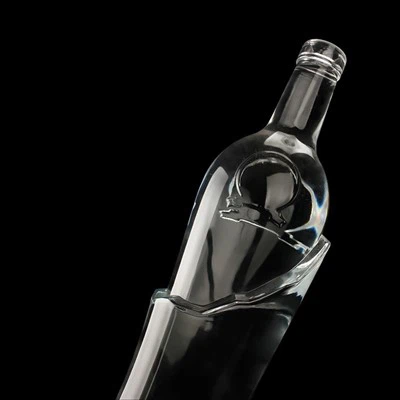
First off, let me tell you a bit about the bottle caps we offer. We've got a wide range of options, like the Wine Aluminum Screw Cap. These are great for sealing wine bottles, but they can also be the perfect material for our doorstop project. Another popular choice is the 30*60mm Wine Aluminum Screw Cap, which has a specific size that might come in handy depending on the design of your doorstop. And if you're looking for something a bit more specialized, the GPI 400/28 Aluminum Screw Cap is a top - notch option.
Now, let's get into the process of making a bottle cap doorstop.
Materials You'll Need
- A bunch of bottle caps. You can use different types, but for a more uniform look, you might want to stick with one kind. If you're using our caps, they're made of high - quality aluminum, which is durable and will last a long time.
- Glue. A strong adhesive like epoxy glue works great. It'll hold the bottle caps together firmly.
- A base. You can use a small piece of wood or a thick cardboard. This will give your doorstop some stability.
- Optional: Paint or decorative items to make your doorstop look cool.
Step 1: Prepare Your Bottle Caps
Start by cleaning your bottle caps. Sometimes, they might have some residue from the bottles they were on. Just use some warm, soapy water and a brush to scrub them clean. Rinse them well and let them dry completely. This step is important because if there's any dirt or grease on the caps, the glue might not stick properly.
Step 2: Plan Your Design
Think about how you want your doorstop to look. You can arrange the bottle caps in different patterns. For example, you can stack them in rows, or create a circular shape. Lay the caps out on your base to get an idea of the arrangement. You can also play around with different colors if you have caps of various hues.
Step 3: Glue the Bottle Caps to the Base
Once you're happy with the design, it's time to start gluing. Apply a small amount of epoxy glue to the bottom of each bottle cap. Then, carefully place the cap on the base in the position you've planned. Press it down firmly for a few seconds to make sure it sticks. Work your way through all the bottle caps, one by one. It might take a bit of time, but patience is key here. If you're using a large number of caps, you can do it in sections to avoid the glue drying before you're done.
Step 4: Add Layers (Optional)
If you want your doorstop to be thicker and more substantial, you can add a second layer of bottle caps on top of the first one. Just repeat the gluing process, making sure to align the caps properly. This will give your doorstop more weight and make it better at holding the door open.
Step 5: Decorate Your Doorstop
Now comes the fun part! You can paint the bottle caps in your favorite colors, or add stickers, beads, or other decorative elements. This is where you can really let your creativity shine. You could paint a cool pattern, like stripes or dots, or add a little logo or symbol.


Step 6: Let It Dry
After you've finished gluing and decorating, let your doorstop dry completely. This might take a few hours, depending on the type of glue you used. Make sure it's in a place where it won't be disturbed.
Step 7: Test Your Doorstop
Once it's dry, it's time to put your doorstop to the test. Place it at the bottom of a door and see if it holds the door open. If it works well, you've got yourself a brand - new, homemade doorstop!
So, there you have it – a simple way to turn a bottle cap into a useful doorstop. Not only is it a great DIY project, but it's also an eco - friendly way to reuse those old caps. And if you're interested in getting some high - quality bottle caps for your next project, whether it's a doorstop or something else, don't hesitate to reach out to us. We're always here to help with your bottle cap needs. Whether you need a small quantity for a fun DIY or a large order for a commercial project, we've got you covered. Just get in touch, and we can start a discussion about your requirements.
References
- General knowledge about DIY projects and bottle cap usage.
- Experience as a bottle cap supplier.